
Add to Wallet Preview
Every card you issue through Unit can be added to Apple Wallet and Google Wallet, with no setup required from you. Cardholders can then spend using their phone in stores, in apps, and online.
Adding a Card Manually
- The cardholder opens the Apple Wallet or Google Wallet app.
- They scan or type in their card details.
- If prompted, they complete a short verification step.
Cards in Apple Wallet and Google Wallet display your logo card design. During initial setup and testing, you may briefly see Unit placeholder card art and details in the wallet. This is expected, and your branding is applied once setup is complete.
Web Provisioning
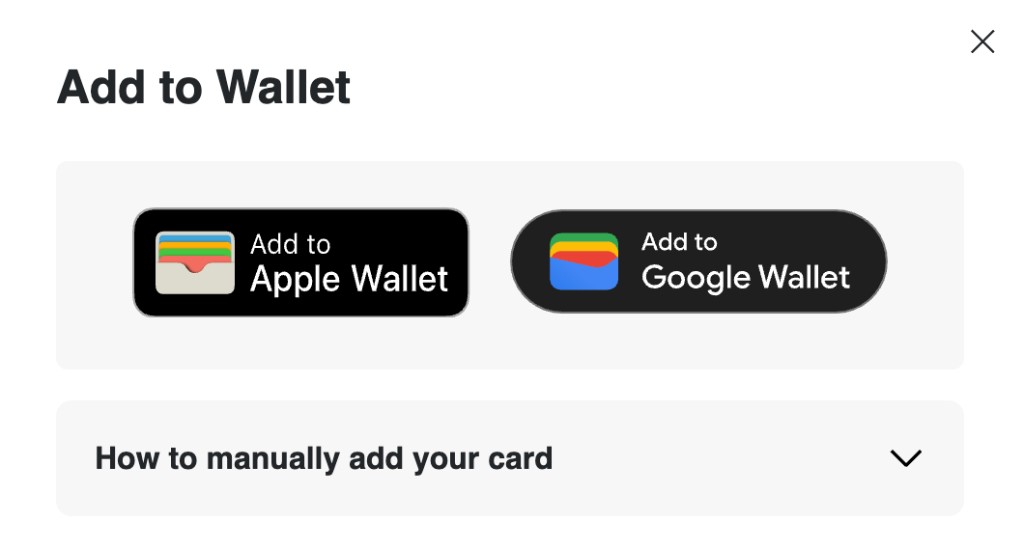
Web provisioning lets cardholders add an active card to a digital wallet directly from your website. They open Add to Wallet, then tap Add to Apple Wallet or Add to Google Wallet. The wallet may still ask the cardholder to accept its terms or verify the card.
To get started, contact your Unit representative, who will walk you through the process and help you scope the work.
Apple Web Provisioning
Step 1: Share Your Web Origins
Send your Unit representative each web origin where the Add to Apple Wallet button will appear (for example, www.banking.com).
After you share your origins, Unit configures them with Visa. Wait for Unit to confirm that your configuration is complete and that you're cleared to begin before moving on to testing.
Step 2: Test Locally
Validate your integration before launch. Contact your Unit representative for guidance on local testing. To exercise the web Add to Apple Wallet flow end to end, you'll need:
- An Apple Account to sign in and start the flow from your site.
- One iPhone with the Apple Wallet app. The flow begins in a browser, but the card is added in Apple Wallet on the device, so you need a device to confirm it lands there.
The target iPhone must be signed into the same Apple Account you use to start the flow. If it isn't, the card won't appear on the device, even though the web flow completes successfully.
Step 3: Send Your Field Testing Results
Add a card to Apple Wallet from your website, make a purchase with that card in Apple Wallet, and then send your Unit representative:
- Provisioning recording: A full recording of the web provisioning flow, ending with confirmation that the card was successfully added to Apple Wallet.
- Receipt: A picture or screenshot of the receipt for the purchase.
- Transactions screenshot: A screenshot of the card's transactions list in Apple Wallet, showing the purchase.
Send the recording as an .mp4 file, and the receipt and transactions screenshot as .png files.
Apple's Launch Approval
Unit coordinates your approval with Visa and Apple on your behalf, using the field testing results you sent.
Apple typically responds within 5–10 business days. If Apple asks for more field testing, your Unit representative will let you know what's needed.
Unit's Launch Approval
Once Apple approves, Unit enables web provisioning for your organization in production, and the Add to Apple Wallet button goes live for all your cardholders on the origins you shared.
When a card is added to Apple Wallet, it isn't stored as the real card number. Apple provisions a device-specific token, called a device account number, that stands in for the card during payments, so the actual number is never exposed.
Google Web Provisioning
To add cards to Google Wallet from your website, your program needs its own profile in the Google Issuer Console, Google's portal for registering the apps and websites that add cards to Google Wallet. Google assigns each profile a merchant ID, which Unit uses to connect your program to Visa.
Visa connects to Google on behalf of Managed Solutions programs as an aggregator. As a result, you complete Google's onboarding up to the key exchange step and share your web origins with Unit, which allowlists them across all the relevant platforms. Unit handles the remaining steps.
Step 1: Create Your Issuer Console Profile
Create your profile from Google's Get started page, then complete onboarding steps 1–4, which include signing Google's Non-Disclosure Agreement (NDA) and Click to Accept (CTA) agreement. Stop when you reach the key exchange step.
Step 2: Add Unit as a Technical Contact
Add cardops@unit.co as a technical contact on your profile so Unit can submit user flows and your launch request to Google on your behalf.
Step 3: Provide Your Web Origins
Send your Unit representative each web origin where the Add to Google Wallet button will appear (for example, www.banking.com). Unit allowlists your origins across all the relevant platforms on your behalf, so you don't need to do this yourself. This also completes your work in the Issuer Console, since the remaining onboarding steps apply only to mobile apps.
Step 4: Test Locally
Validate your integration before launch. Contact your Unit representative for guidance on local testing. To exercise the web Add to Google Wallet flow end to end, you'll need:
- A Google Account to sign in and start the flow from your site.
- One Android device that supports Google Wallet. The flow begins in a browser, but the card is activated in the Google Wallet app on the device, so you need a device to confirm it lands there.
Google's Launch Approval
As a Managed Solutions client, Unit handles the remaining steps with Visa and Google on your behalf. Unit configures your program with Visa, finalizes the required steps in your Google Issuer Console profile, and submits your launch request to Google.
Google's approval typically takes about a month and can take longer.
Unit's Launch Approval
After Google approves the launch and you've tested locally, Unit enables web provisioning for your organization, and the Add to Google Wallet button goes live for all your cardholders on the origins you shared.
When a card is added to Google Wallet, it isn't stored as the real card number. Instead, Google creates a device-specific token called the device primary account number (DPAN) that stands in for the card during in-store and in-app payments, so the actual number is never exposed.
Google also saves the real card number — the funding primary account number (FPAN) — to the cardholder's Google account. This card-on-file is what lets the cardholder spend online and on devices that can't create a device token, where no DPAN is available.
Unit configures your program with Visa to support this DPAN + FPAN model.
FAQs
Do I need to offer web provisioning?
No. Cardholders can add their cards manually without any setup from you. Web provisioning is optional, but recommended: letting cardholders add their card in one tap from your website reduces friction and encourages wallet adoption.